The Snowboard Level 3 Teach exam
If you are actively participating in preparing to take your AASI Level 3 Teach Module, then you’ve already shown a commitment to snowboard education that most never have. You’ve likely put in a lot of hours on snow, taught dozens of lessons, and taken many opportunities to train toward this goal. At least I hope you have, because earning your level 3 requires all of that and then some.
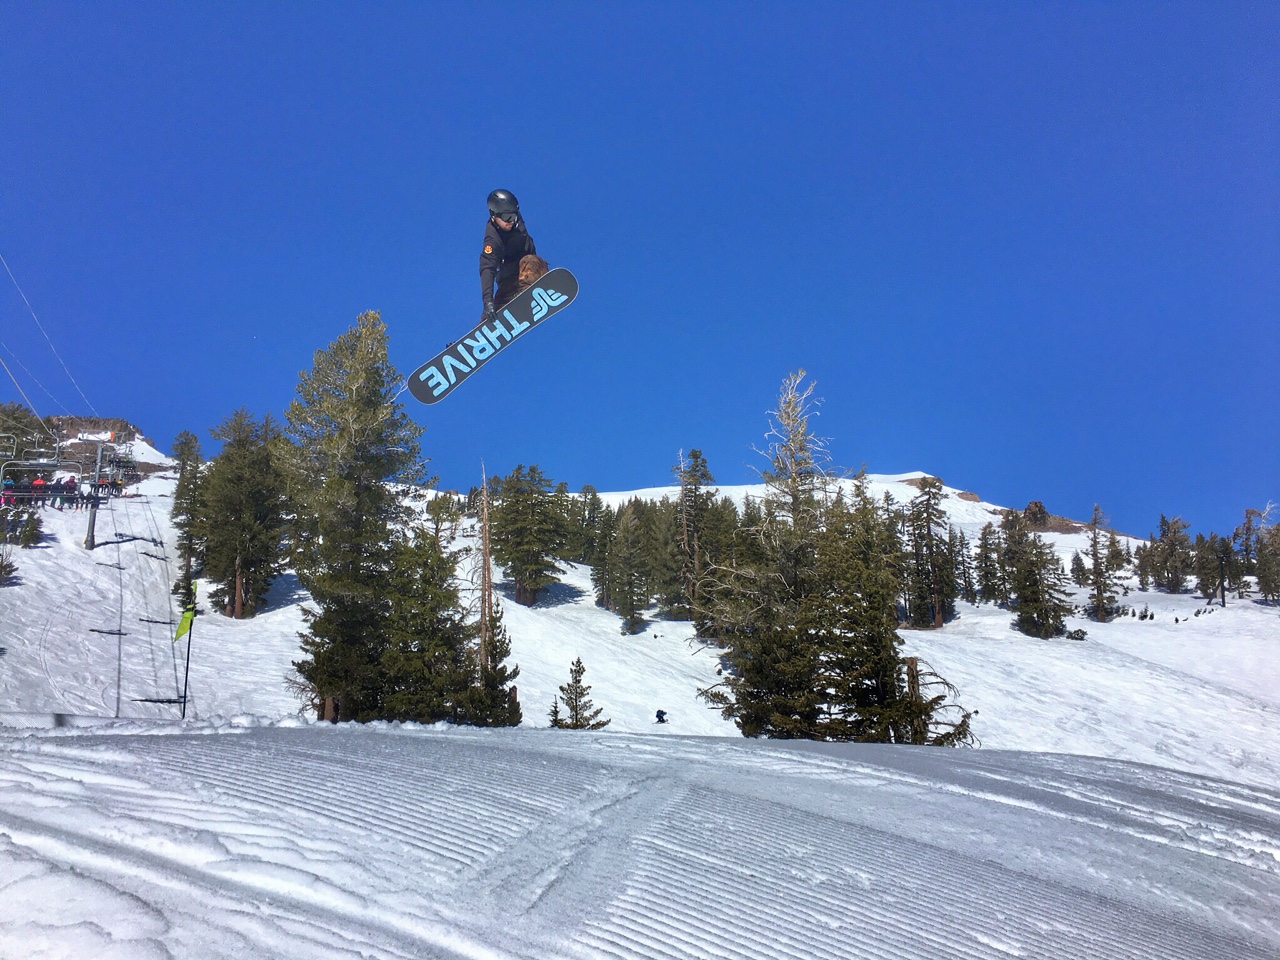
This document will read much like its Level 2 counterpart, in that both the Level 2 and Level 3 Teach Modules share the same format, but it will also detail where they are separate, and what greater expectations wait for you to achieve full certification. You are about to take an enormous step forward, and we as members of the AASI Western Division Educational Staff want to help prepare in in the best way we
can. See you on exam day.
-Asa Fountain
AASI Western Division Educational Staff
Your Examiner
You’ve likely ran into a few of us at this point in your certification career. Some of us are incredible riders, others have forgotten more about snowboarding than you’ve learned so far, and some have the ability to take you out on snow and teach you something you never knew existed before you even realize what chairlift you’re on.
Like you, we all have strengths and weaknesses, and like you, hopefully we’re all working on balancing them. Most of us earned our Level 3 certifications a long time ago, when snowboarding and snowboard instruction was at a different stage in its development. However, our opportunities to learn and grow never ended. We all realized, at one time or another, that earning our Level 3 wasn’t like making it to the top of a steep mountain, but more like finding a wide open field once we got there. This sport never stops progressing, and therefore neither do we. Our job is to stay at the forefront and you, as a level 3 candidate, are making the choice to do the same.
Day One Layout
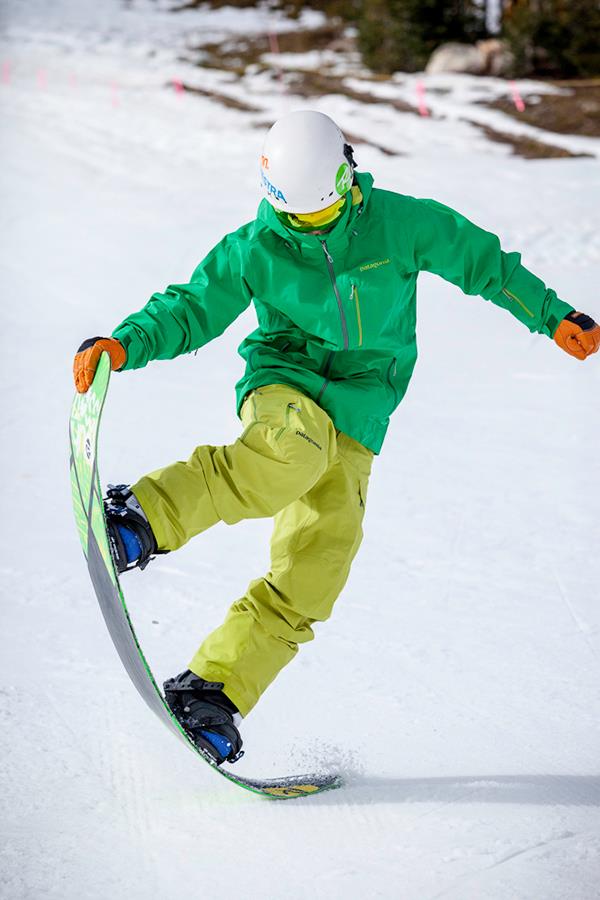
The basic skeleton of the Level 3 Teach Module is more or less the same as the level 2; a two-day examination of your teaching ability, movement analysis skills, and professional knowledge of snowboarding. This was changed from the three-day format to aid the membership as it pertains to overall cost and scheduling trips to take certification exams. While the expectations and skills necessary to succeed have taken a leap, your two days in the module will feel familiar.
Event Check-In and Introductions – “If you’re early, you’re on time. If you’re on time, you’re late.” My old basketball coach taught me that, and I take it to heart. Building the habit to be early for all your commitments only helps your ability to be successful, and absolutely never promotes failure. Job interviews, first dates, even snowboard exams. Showing up early shows initiative and preparation. Most exams plan to be on some sort of chairlift or gondola by nine o’clock. As a professional looking to achieve the highest level of certification, show up early. 8:30am is the start of check-in, and I hope you’re earlier than that.
Expectations and Agenda – Even your examiner needs a couple warm-up laps, time to set expectations, go over the exam agenda, and answer questions. This is important for our success, not just yours. This is the time to get to know your fellow candidates and get inspired.
Video Movement Analysis – On day one you’ll be presented a few videos of different kinds of riders. As a level 3 candidate, these riders will be demonstrating a higher level of riding on all possible terrain, including larger freestyle features and steep, off piste zones. Recognize movements accurately, then create a plan to improve them. When we sit down to start the video MA portion of the exam will depend on the venue and number of groups participating in the exam.
Mock Scenario - Just like in the Level 2 Teach Module, your examiner will demonstrate a passing level 3 teach scenario, including a smart, logical progression and a creative outlook on the desired goal, while acknowledge different teaching styles, multiple intelligences, and feedback. I suggest you take note of how they structure their lesson.
Scenario Evaluations – This is why you’re here. On the first day your teaching segment will be between 30 and 40 minutes in length, and like the level 2, this will be a demographic focused lesson. Your examiner will give you an environment, a type of person, their occupation, hobbies, or both, and potentially one of the seven multiple intelligences to focus on. This is somewhat of a contrived environment, but where it differs from the level 2 is the caliber of riding you’re dealing with. While the group in front of you may “pretending” to be 40 year old businessmen, you’re still instructing to the level of rider you’re seeing in front of you, and at the level 3, they’re likely to be strong. Evaluating your riders and creating an engaging, out-of-the-box teaching segment that addresses all the information given and leads to a clear change in the group’s riding will be critical to your success.
Lunch – Chow time. Grab yourself a burrito if you’re in Mammoth. If you’re at Squaw, check out the pizza bagels at Wildflower.
Scenario Evaluations – Back at it. Another session of 30 to 40 minute teaching sessions to finish the day.
One-on-One Feedback – Clear, detailed feedback of your teaching scenarios is enormously important to us. We want you to know exactly what you need to do to be successful on the second day of your exam, so at the end of the first day we’ll sit down with you one-on-one so we can provide that feedback and answer your questions.
Day Two Layout
Event Check-In and Agenda Review – This is it. One more time. Be rested. Be early. Be ready to teach your heart out.
Setting Up Success – Day two is a shorter day with shorter teaching segments. However, we’re still in an athletic environment, so a warm-up lap is generally necessary. That, and the opportunity provide any last minute clarity on what’s expected of you.
Scenario Evaluations – Depending on the size of the group, expect to have about 30 minutes for your second teaching segment. Like the level 2, your second day’s teach segment will be movement analysis focused built from a demonstration provided by your examiner and group.
Lunch – If you bring a lunch, great, but make sure you have a backup plan if the group can’t make it back to the lodge. This is a very quick lunch break since the day is shorter than day one.
Scenario Evaluations – Final teaching segments! Show us your best!
Free Time & Evaluation Forms – Congratulations, you’ve finished your Level 3 Teach Module. There is a LOT for the examiner to process and evaluate, so while they’re writing up results and feedback forms, feel free to enjoy a couple of laps or kick your feet up. All that’s left is to wait for your sit-down.
One-on-One Results – It’s a rare thing for a candidate to pass their Level 3 teach on their first try. It’s a difficult standard to achieve, which is why it holds so much weight. As always, providing the best coaching experience we can for your development is our goal. If today is not the day, know that the journey is FAR from over. While taking the news that you haven’t quite met the standard is never easy to hear, our greatest hope is that you leave the exam with some fire in your belly, some new knowledge to work with, and some inspiration for the next time you ride with us. If today IS the day, then congratulations. You’ve climbed quite a ladder and you should be proud of that. However, what you’ve truly achieved is the next opportunity to grow. This is only the beginning.
Teaching Scenarios
While the format of the exam will feel familiar, what’s expected of you in a level 3 teach segment versus the level 2 is where you’ll see the separation.
“Bloom’s Taxonomy,” the model representing the process of learning, is topped off with the words “evaluate” and “create.” “Analyzing” and “applying” are the basis the level 2 standard. At the level 3 we expect you to have the ability to teach us just about anything on just about any terrain. When you analyze a scenario, you are examining its clear elements and structure. When you evaluate, you are judging its potential value. Let’s say you’re teaching carving: we’re looking for something beyond level 2, which means beyond an introductory style lesson, so you decide to teach an old school, back-foot heavy, knee-tuck style carve. Part of evaluating is being able to argue the value of something that might be a little unconventional, or out-of-the-box, so you’d better be able to explain the worth of that style of carve.
“Create” sits at the top of the model, and in your teach segment this will manifest in the ability to create a new, original piece of instruction gold. Not something you read in a manual. Not something you copied from a fellow coach. Something that you created when asked to do so.
The best way I can showcase the difference between teaching segments through all the levels of certification is with the idea of a puzzle. At level 1 you can find all the border pieces to the puzzle and put them together. At level 2 you can complete the puzzle with the same image that came on the box. At level 3, you can smash the puzzle, put it back together, and come out with a brand new picture that works. That’s creation.
Structure: Much like the level 2, we’re looking for a solid progression. Static, simple, complex, with clear understanding of the multiple intelligences and use of different teaching styles. The steps you take are your opportunity to get creative; exploring different tasks and movements that are more engaging, creative, and relevant for a group of strong riders. Your outcome should be something very dynamic, high skilled, and imaginative
Safety & Professionalism: If you’re unable to ride safely in a group and communicate in a professional manner, then you probably haven’t been very successful in your certification journey. If that’s not the case, wonderful! Just don’t take it for granted. You are now seeking to earn the highest level of snowboard certification, of which safely managing a group and presenting yourself as a professional of the sport are at the forefront.
Demographic and Movement Analysis focused lessons: Like the level 2, you’ll be provided a demographic and environment for your teaching segment on day one. A type of person for the group to emulate, their occupation or hobbies, which of the multiple intelligences they lean toward, and an environment in which they want to ride. The difference is that you’re looking to improve upon your group’s already strong riding skills. They aren’t pretending to be lower level riders than they are, they’ll be the strong riders they actually are.
Your movement analysis lesson is very similar to the level 2, with the examiner and group presenting riding in any possible environment. Look for the movement that’s deficient, then build a creative, logical lesson to improve that deficiency. Again, we’re not looking for introductory style lessons. We’re looking for your ability to evaluate, create, and improve the riding of the group.
Feedback & Communication: Even at the level 3, we’re still looking for real world teaching. That means logical tasks and drills, achievable goals, and realistic terminology. Teach real snowboarding! Do the same with your feedback. Maintain the flow of the lesson while still offering constructive and positive feedback to your group. Remember “talk vs. action.” Hopefully we’re spending more time riding and less time talking on the side of the trails.
Movement Based Teaching: It may be a new level of certification, but we’re still here to learn how to move on our snowboard. Teach the group new ways to do that! Grabs, slash turns, rotations, retraction, you name it! Make sure that it’s appropriate for level 3 riders and that they make sense for the progression that you’re building.
To keep as level a playing field as possible, your examiner will NOT partake in your lesson segment. They’ll only observe and evaluate your abilities, so keep that in mind when you’re partnering up the group and have an odd number. These teach segments are your opportunity to take all the information you’ve learned through your career and make it your own, in your own image, and in your own words. We want to see you do strange things (that make sense,) and we want you to look at snowboarding in new ways. Share that with your group, make a clear change in their riding, leave them stoked, and you’ll have done your job.
Professional Knowledge
Once again, your technical knowledge as a professional will be on stage over the two days. You’ll have to pass another online test, you’ll take part in technical talks during the exam, and you’ll answer a few questions from your examiner after your teach segments. Like the level 2, these questions may be focused on teaching styles, group handling, the ATML model, and more. Unlike the level 2, your job is not just to analyze and apply this knowledge and where it’s being used, but to evaluate it, make sound judgments and explain why these models have value or do not. Expect to chat and expand on…
● Piaget’s Stages of Development
● The AASI Snowboard Teaching System
● The ATML Model
● Snowboard equipment and design
● The physics of snowboarding
Revisit the National Standards for the complete list of expected technical knowledge, then learn how to use it in real time. Own the material.
Movement Analysis
The movement analysis portion of the exam will reflect the level 2, but taken to the next degree. You’ll need to accurately evaluate a number of riders during the video written portion on day one, including riders of all levels and all terrain. You’ll be expected to do the same on snow through your feedback within the group, and finally, during your MA focused teach segment on day two. Your ability to evaluate the terrain and applied movements and your ability to create a sound pathway to improvement will determine your movement analysis success. To truly own your movement analysis skills, be sure own the many concepts, like…
● Biomechanics of snowboarding
● The relationship between the upper and lower body
● All manner of turn shapes, directions, sizes, and movement patterns
…just to name a few. Check out the National Standards and make these concepts second nature.
On the first day you’ll be asked to perform Movement Analysis in written form from videos presented by the examination staff. You’ll see riders of any level, you’ll have to identify the level of rider, the terrain and conditions, where they’re being inefficient, and how you’d help them grow. Truly evaluate what they’re trying to accomplish and create a pathway to their greater success, just like your teaching segment. Your examiner will review these after day one, and they’ll have an impact on what’s expected of you on day two.
Your teaching segment will be movement analysis focused on day 2. You’ll be expected to evaluate the group on-hill and build a creative lesson that effectively changes the riding of the peer group, in any environment available on the mountain. The riding you’ll see from your peer group will be either fresh for that day or based on your written movement analysis from the video portion. Either way, we’re looking for true coaching as this scenario is a little less contrived than day one’s teach. Strong riders will be in front of you. Make them better.
Practice. Nothing is mastered without the time put in. Study videos, work with your friends and co-workers, and find an approach that works well for your ability to break snowboarding down effectively and coach improvement creatively.
The Online Test
You’ll have to complete and pass an online test comprised of multiple choice and true/false questions, just as the level 2. Read the current articles in 32 degrees and The Edge, review your manuals, actively search for resources on psia-w.org and thesnowpros.org. Your online test could have any of it.
Now What?
Prepare. The level 3 is a very involved process and shouldn’t be overlooked or set on the back burner. Continue to work with your trainers and peers. Travel to more challenging terrain to push your riding. Get creative when you practice your teaching abilities and evaluate what works well and what doesn’t.
The standard to achieve the level 3 is high, and it should be. If you don’t receive the answer you want to hear from your examiner at the end of the second day, understand that this is a difficult level to achieve, and most don’t earn it their first try. What’s important is that you leave this exam with new understanding and greater knowledge, and with or without a new pin to put on your jacket, you’ll hopefully have left a better instructor than when you arrived.
If you do get that high five and “congratulations!,” then well done. You’ve just accomplished something very difficult and very sought after. Earning a gold pin comes with some status, as well as responsibility. Your success in the level 3 is our endorsement of you as a fully certified industry professional. That’s something you should be incredibly proud of, and take very seriously.
However, don’t mistake your level 3 success for mastery. While you’ve proven to the Western Division of AASI that you’ve attained this high level of certification, it’s really your next opportunity to truly learn. At the beginning of this resource I mentioned the idea of the open field at the top of the mountain; the idea that you’ve made it to the top of this long, difficult climb, only to find no trophy, no podium, no wise old monk with the answer to the meaning of life. What you have found, however, is the opportunity to create your own path and your own identity as snowboard professional, using the knowledge and skill you’ve trained for over the past few (or many,) seasons.
Snowboarding is ever-changing. Hopefully, so are you. Whatever the result, know that we as members of the Western Division Educational Staff are proud to be part of your journey and where it continues to lead you. If and when you ever need a little direction on that journey, you know where to find us.
-Asa
